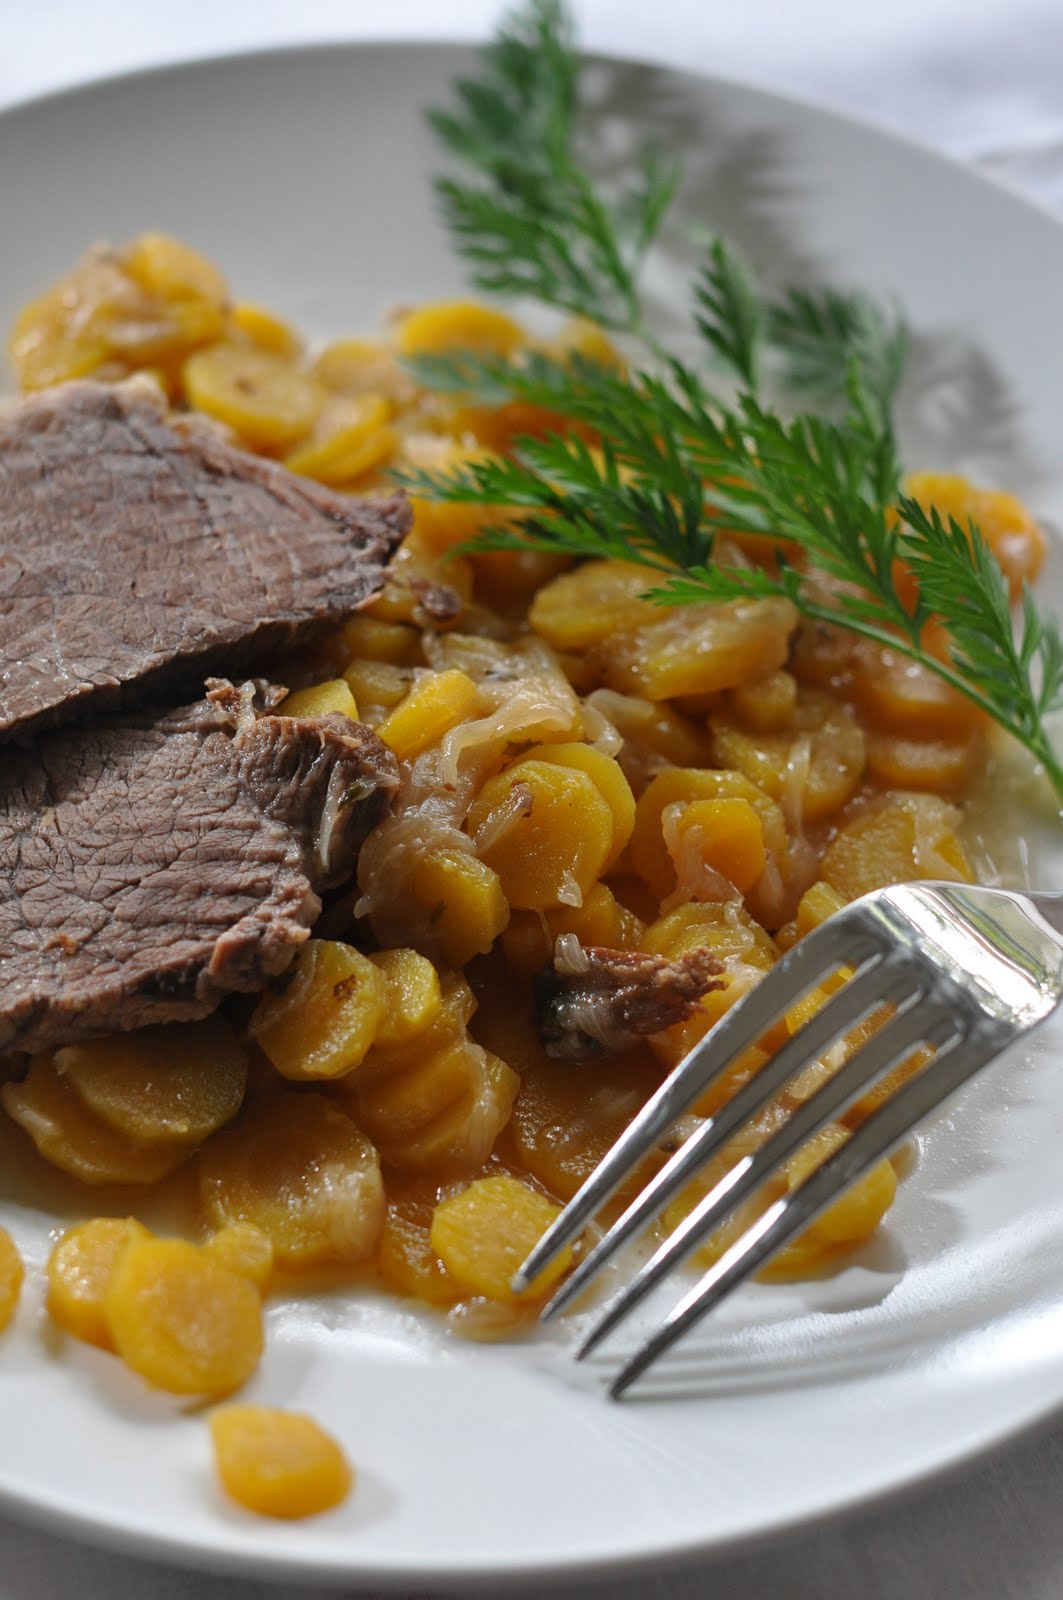
Muttai Omelet Kuzhambu (Egg Omelet Gravy)
Those who love eggs will be excited to taste different recipes of eggs. I have tried to make gravy with the omelets. I have heard that in some parts of Tamilnadu this gravy is a usual one. I was not able to gather any authentic recipe of the same. So I have made a trial. The gravy turned out good. So you people can certainly give the recipe a try. An easy and handy recipe when we are short of vegetables or time.
Those who love eggs will be excited to taste different recipes of eggs. I have tried to make gravy with the omelets. I have heard that in some parts of Tamilnadu this gravy is a usual one. I was not able to gather any authentic recipe of the same. So I have made a trial. The gravy turned out good. So you people can certainly give the recipe a try. An easy and handy recipe when we are short of vegetables or time.
Ingredients for the omelets
Eggs -4
Minced onion -1/2 cup
Turmeric powder -1/2 teaspoon
Pepper powder- 1 teaspoon
Chopped green chili -1
Salt to taste
Eggs -4
Minced onion -1/2 cup
Turmeric powder -1/2 teaspoon
Pepper powder- 1 teaspoon
Chopped green chili -1
Salt to taste

There are different ways of making this omlette. If you have time and patience it can be baked in the oven. As my readers know, I am allergic of using my oven; I made the omelets in my dosa pan. The thing to be noted while making the omelets is that it should be made thick.
Another way is to pour the mix in kuzhi paniyaram moulds and make egg paniyarams.
Easiest is the regular way of making omelets but little thicker. If you make like this or bake then after making cut into small pieces and keep aside

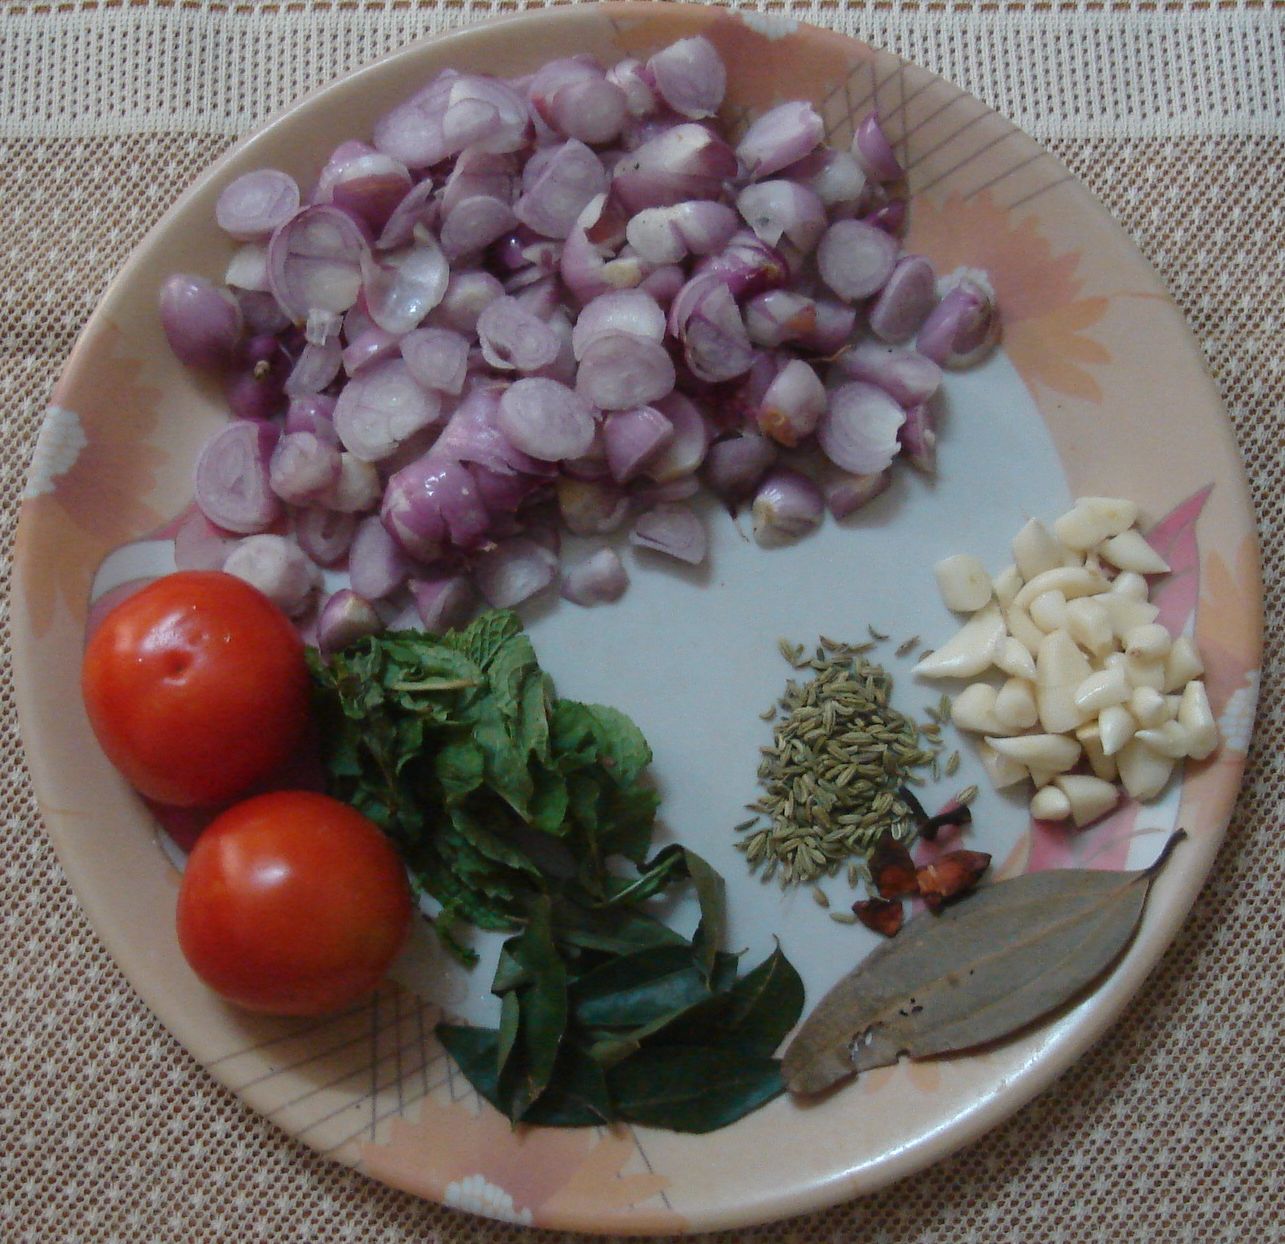
Ingredients for the gravy
Small onion -20 or chopped big onion -2
Garlic -20
Tomato -2
Tamarind –little (as shown) (too much of tamarind will not be good)
Sambar powder-2 teaspoons
Coriander powder- 2 teaspoons
Turmeric powder -1 teaspoon
Curry leaf –little
For seasoning
Mustard-1 teaspoon
Fenugreek-1/2 teaspoon
Fennel seed-1 teaspoon
Curry leaf-little
Procedure to make the gravy
The gravy is the normal puli kuzhambu that we make. But for the beginners sake I repeat.
Mix the tamarind and the salt needed in two to two and half cups of water.
Drain it and keep aside
Keep the kadai in the stove
Pour 1 table spoon of gingili oil or any other oil you use for cooking
Season the gravy with the items given for seasoning
Add the onion, garlic and tomato pieces one by one and sauté well for 5 minutes in medium fire
Now add the salt tamarind water into the kadai
After one boil add the sambar powder, turmeric powder and coriander powder.
Keep the stove in medium fire
Cook for 10 minutes
When the gravy has turned to half the quantity add the cut omlette pieces.
Cook for 3 more minutes
Remember that the omelet pieces will become little big after boiling
So make the pieces little smaller.
Heat the gravy before serving


 For grinding


 little bit gingelly oil can also be used for spreading. Youngsters today will do a better work of making different shapes than us. Keep the poornam inside and cover nicely.If you make the first type stick the ends nicely.